21. 绿屏汽车
绿屏汽车
INSTRUCTOR NOTE:
The code should read
cv2.inRange()
and the complete notebook is in the next section.
绿屏
为了创建颜色遮罩,我会先创建一个颜色阈值,来为我想隔离的颜色(绿色)定义下限和上限。
# Define our color selection boundaries in RGB values
lower_green = np.array([0,180,0])
upper_green = np.array([100,255,100])
接下来,我将使用刚刚创建的颜色阈值,来创建 图像遮罩 。
# Define the masked area
mask = cv2.inRange(image, lower_green, upper_green)
然后,为了掩盖图像,我将在原始图像上创建一个名为 “masked_image” 的原始图像副本,以便在操作时不改变原始图像。要选择绿屏区域,就要求图像与遮罩重叠的部分为白色或 非 黑色(!= 0)。
# Mask the image to let the car show through
masked_image = np.copy(image)

masked_image[mask != 0] = [0, 0, 0]
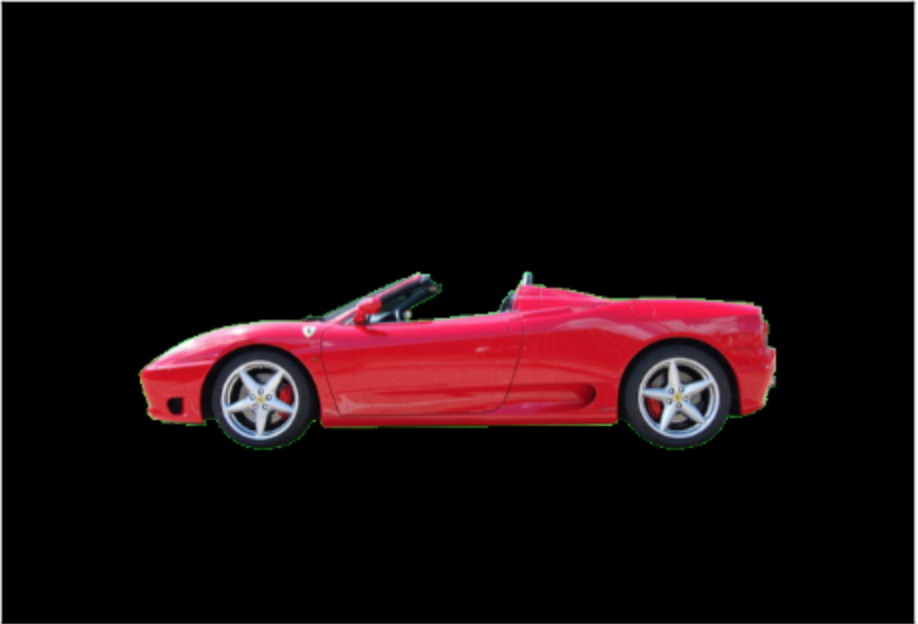
最后,当我们显示 masked_image 时,我们可以看到,汽车的图像是唯一显露的区域,绿屏背景消失了!

被掩盖的背景!
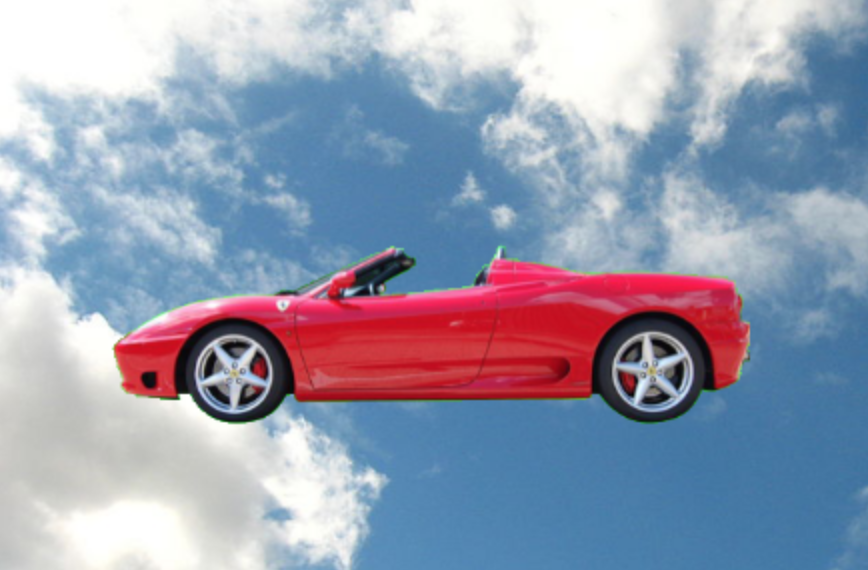
接下来,你将随意练习遮罩和添加背景。你最后得到的图像应与下面的飞行汽车相似。

使用天空的图像代替绿屏